Description

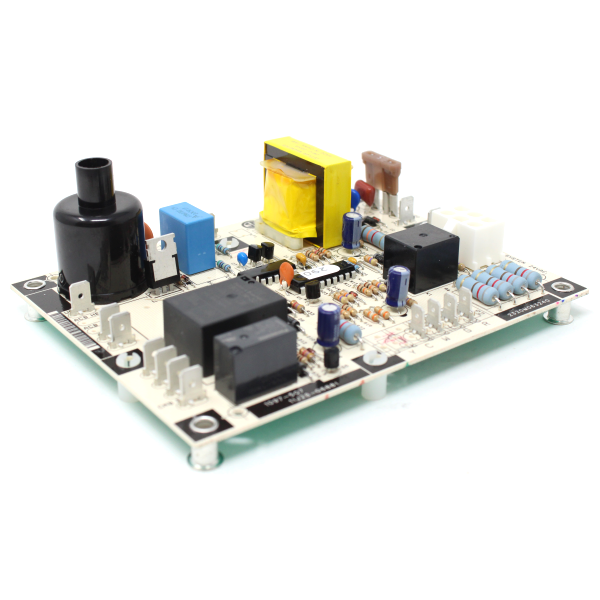
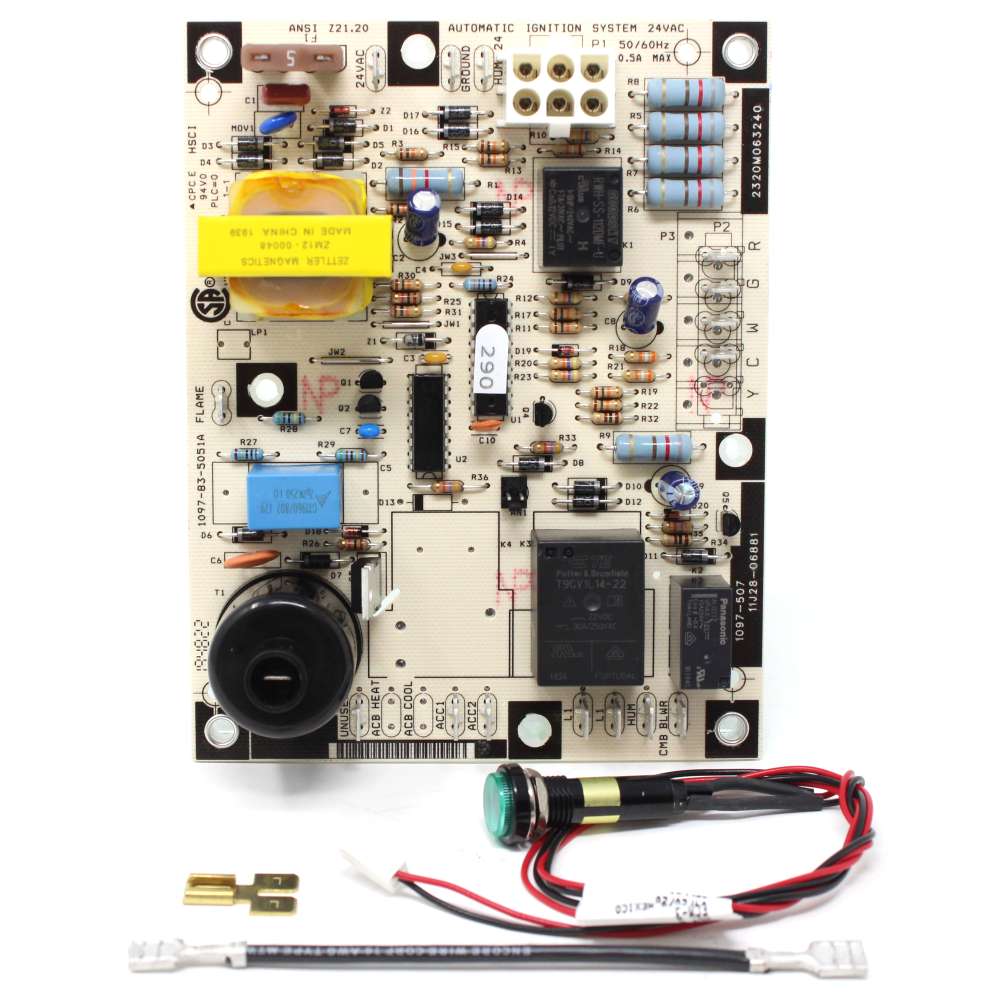
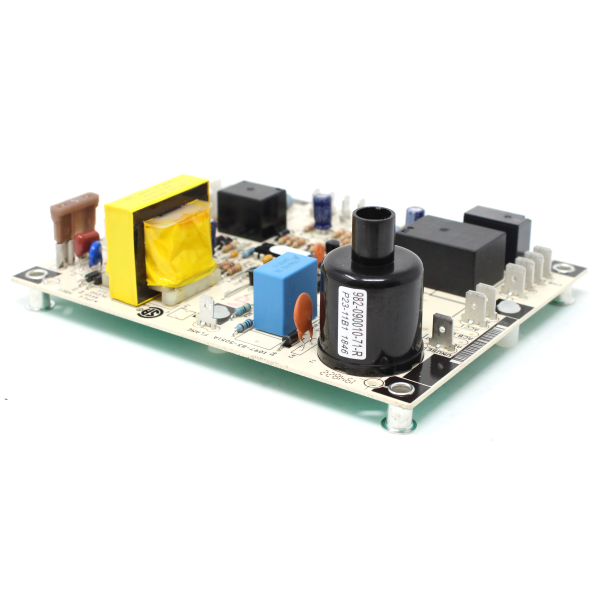
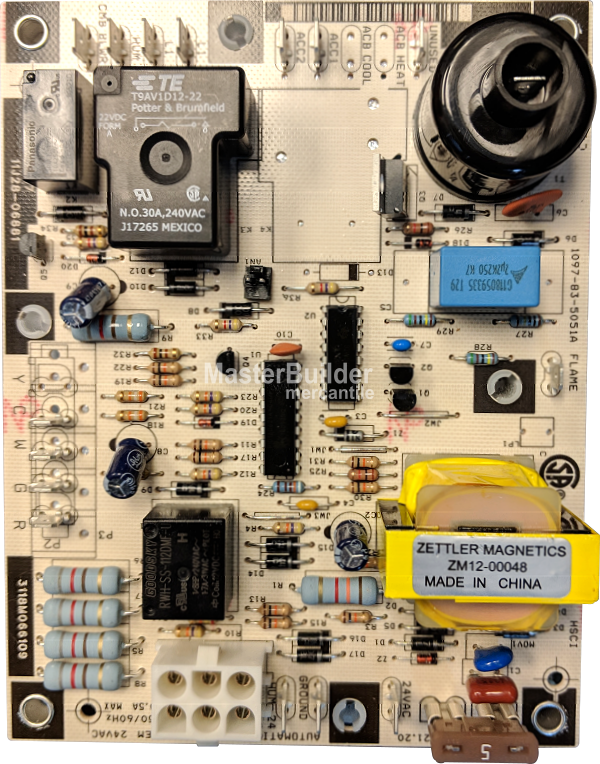
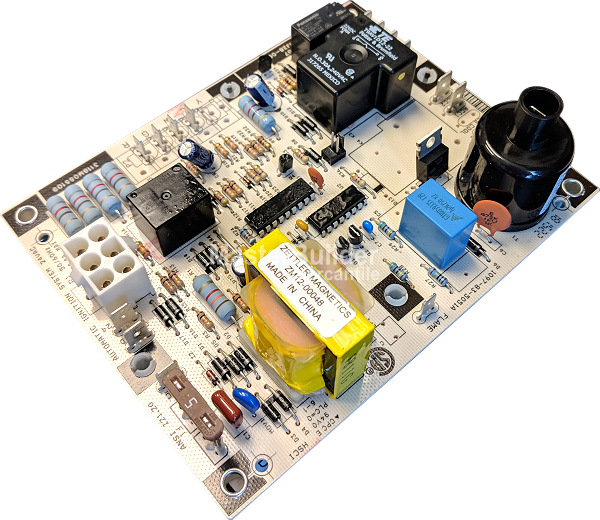
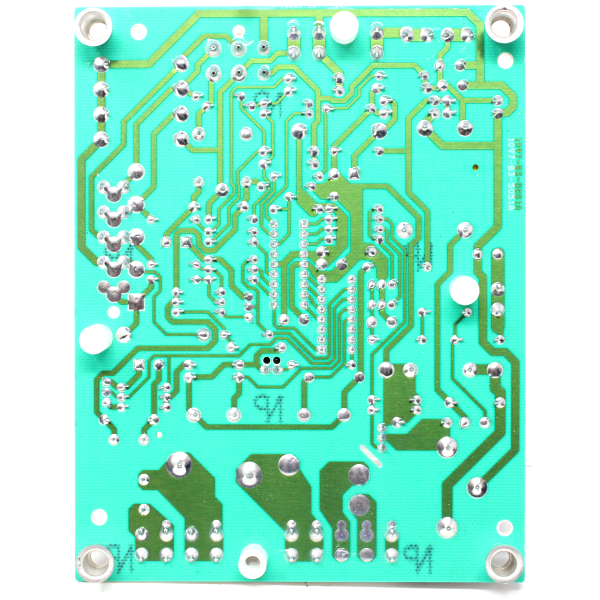
Heil 11J28-06881 OEM Unit Heater Control Board – Replacement for J28R06881.
Product Overview
The Heil 11J28-06881 Control Board is the official OEM replacement for the outdated J28R06881 board, designed to ensure safe, consistent operation of Heil unit heaters. This updated board is tailored for heating-only systems, eliminating unnecessary cooling relays while introducing a new LED diagnostic wire for easier troubleshooting.
Whether you’re servicing a garage heater, maintaining a commercial HVAC unit, or restoring performance in your Heil heater, this board delivers durability and efficiency.
Features & Benefits
-
OEM Replacement: Built to Heil’s specifications to replace the discontinued J28R06881 board.
-
Heating-Specific Design: Cooling relay removed to simplify operation in unit heaters.
-
LED Diagnostic Upgrade: Includes a 20” wire for internal or external mounting to ease service checks.
-
Streamlined Wiring: Fan motor wires now land on ACC1 terminals; no jumper required.
-
Reliable Performance: Ensures safe ignition and efficient operation for Heil unit heaters.
Specifications
-
Part Number: 11J28-06881 (Replaces J28R06881, 11J28R06881)
-
Compatible Heil Series: Heating-only Heil unit heaters (consult model chart for match)
-
LED Wire: 20” with lock nut for secure mounting
-
Terminals: ACC1 fan connections replace outdated jumper system
-
Function: Designed exclusively for heating mode
Installation Tips
-
Shut off power before installation.
-
Connect fan wires to ACC1 terminals—jumper no longer needed.
-
Mount LED externally (11/16” hole required) for easier viewing, or position internally away from burner.
-
Follow Heil service recommendations for best results.
FAQs
Q: Can this replace the J28R06881 board?
A: Yes, it is the direct OEM Heil replacement.
Q: Why is there no cooling relay?
A: Heil unit heaters operate only in heating mode, so the relay was unnecessary.
Q: How does the diagnostic LED work?
A: The LED connects to the control board and provides fault codes for faster troubleshooting.
Estimate shipping
Payment & Security
Your payment information is processed securely. We do not store credit card details nor have access to your credit card information.

